Angular + fontawesome in only 5 steps
• • 2 min readFontAwesome is the internet's most popular icon toolkit which has been redesigned and built from scratch. On top of this, features like icon font ligatures, an SVG framework, official NPM packages for popular frontend libraries like React, and access to a new CDN.
In this post, I am going to show you how to configure fontawesome to be used in angular in only 5–1 steps.
In these steps, we will configure fontawesome without using the specific Angular package. In a future post, it will be configured using the official package, which is even simpler, and we will have fontawesome working with the same Angular ecosystem.
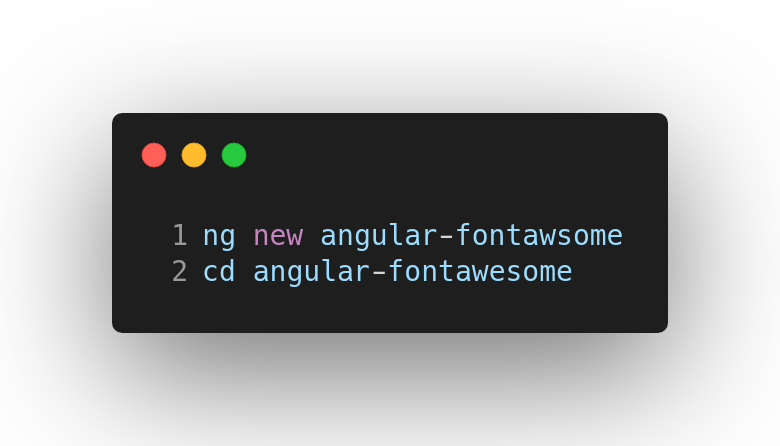
Step 1 (or 0). Init your project
If you are thinking about using fontawesome in your angular project, you probably have an initialized project already. However, for this tutorial, let’s start with our project from scratch.
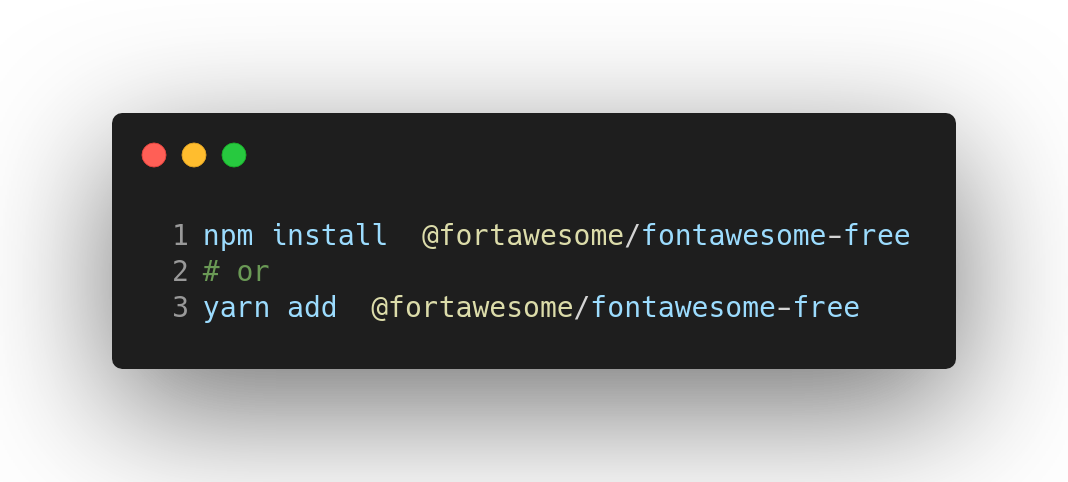
Step 2. Install fontawesome
Install fontawesome.
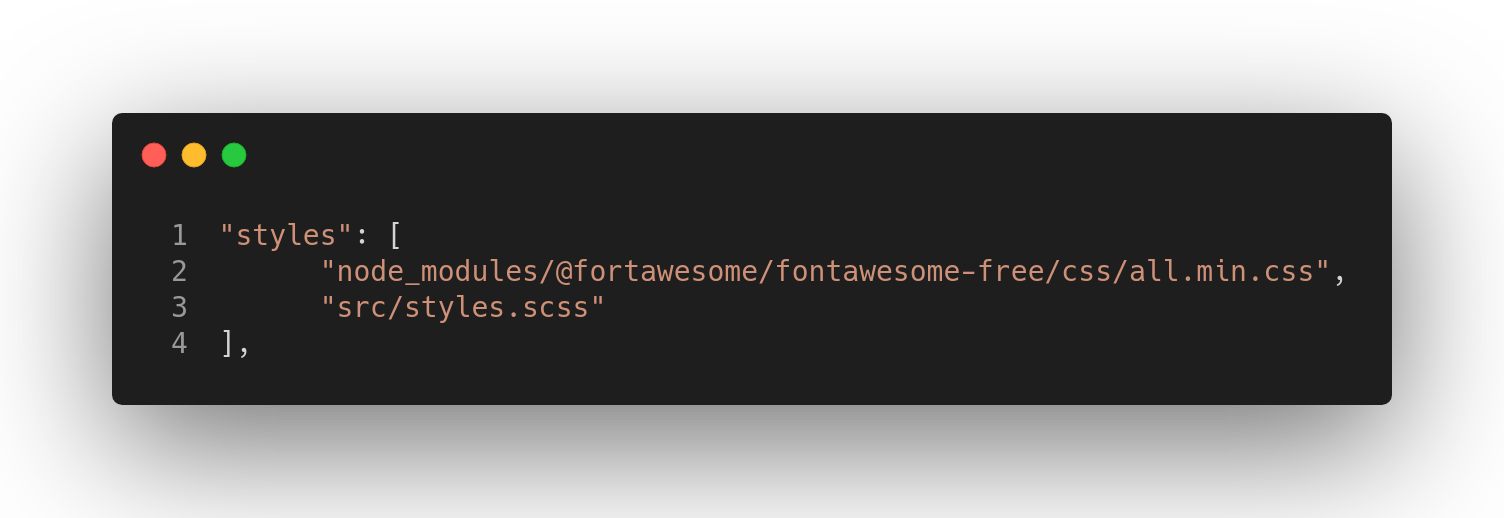
Step 3. Include fontawesome
There are several ways to include fontawesome in our project:
- Open angular.json and insert a new entry into the styles array:
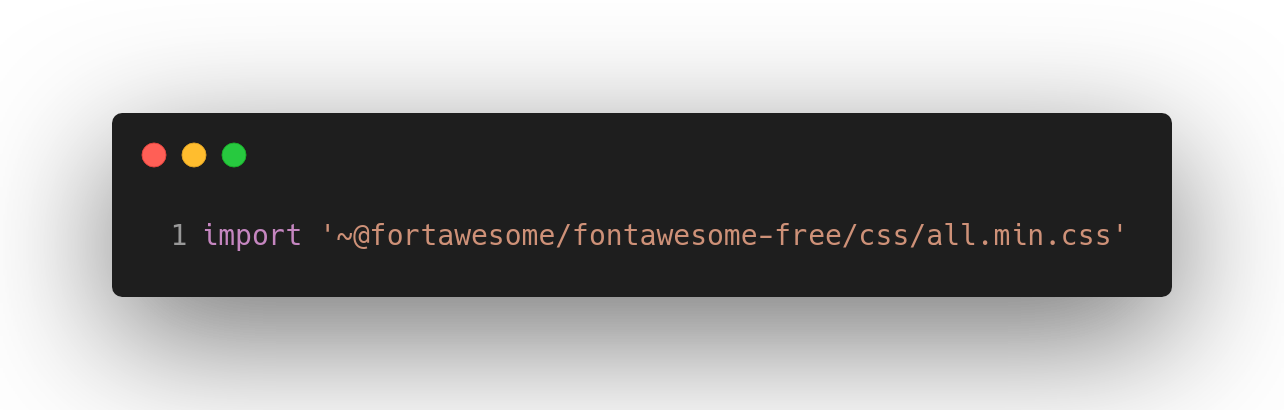
- Open styles.scss and insert a new entry into the file:
Step 4. Add fontawesome CSS Class
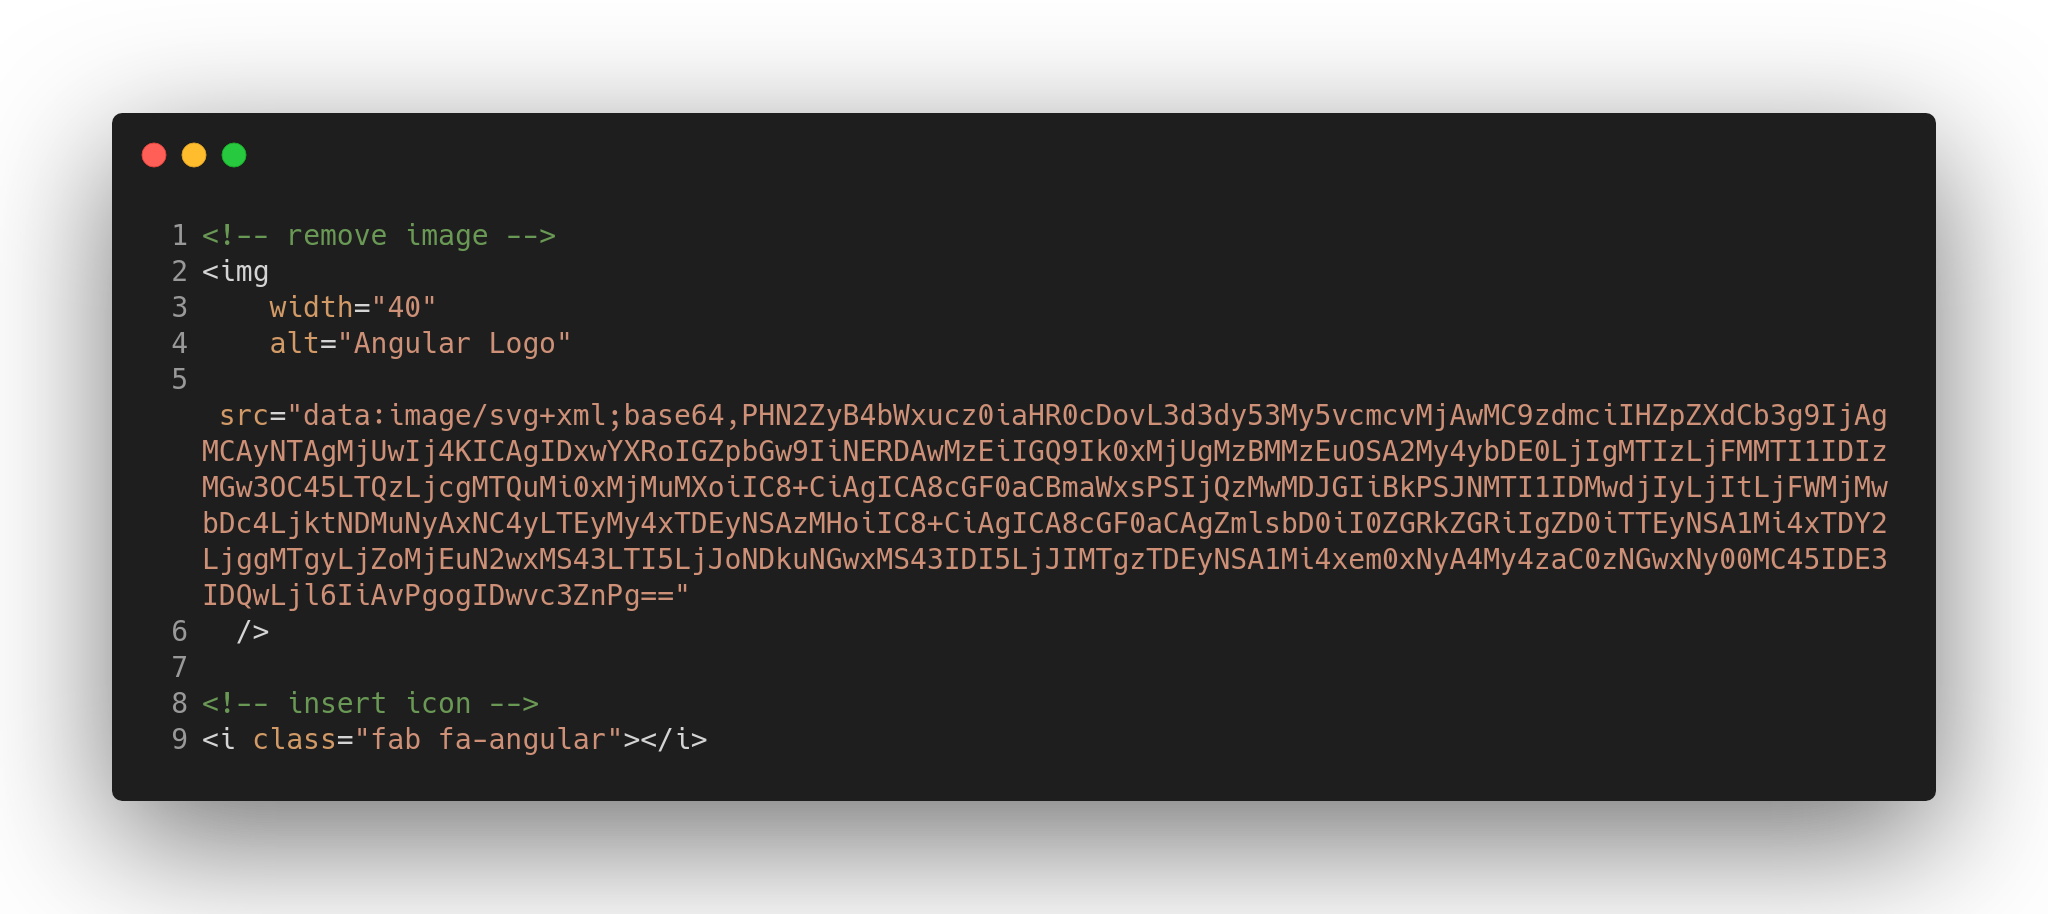
Open your template’s component and add the fontawesome CSS class in any of the html elements:
Step 5. Run your app!
Run your app:
ng serve
More, More and More...
The GitHub branch of this post is https://github.com/Caballerog/angular-fontawesome-1